DIY Lean-To Shelter: Step-by-Step Beginner’s Guide to Staying Dry & Warm
Quick answer
- A DIY lean-to shelter is a single-sloped shelter built by leaning ribs (branches) against a ridgepole and covering them to shed wind and rain.
- Build time: 2-4 hours for one person with suitable materials and some experience. Site and skill change that.
- Key dimensions: ridgepole 6-10 ft (1.8-3 m); ridgepole height about 3-4 ft (0.9-1.2 m) for sleeping; rib spacing 6-12 in (15-30 cm); debris roof 12-24 in (30-60 cm) as a starting point.
What is a DIY lean-to shelter?
A DIY lean-to shelter uses a horizontal ridgepole supported between two trees or forked posts. Long branches are leaned against the ridgepole to form a sloped roof. Cover the ribs with debris, a tarp, or fabric to block wind and rain.
Why build one?
- Erect one quickly with a knife, saw, or nothing but deadfall and strong arms.
- Use what you find: branches, leaves, pine boughs, grass, or a carried tarp.
- Blocks wind and rain and keeps you off the cold ground.
- Teaches site selection, framing, and insulation by doing.
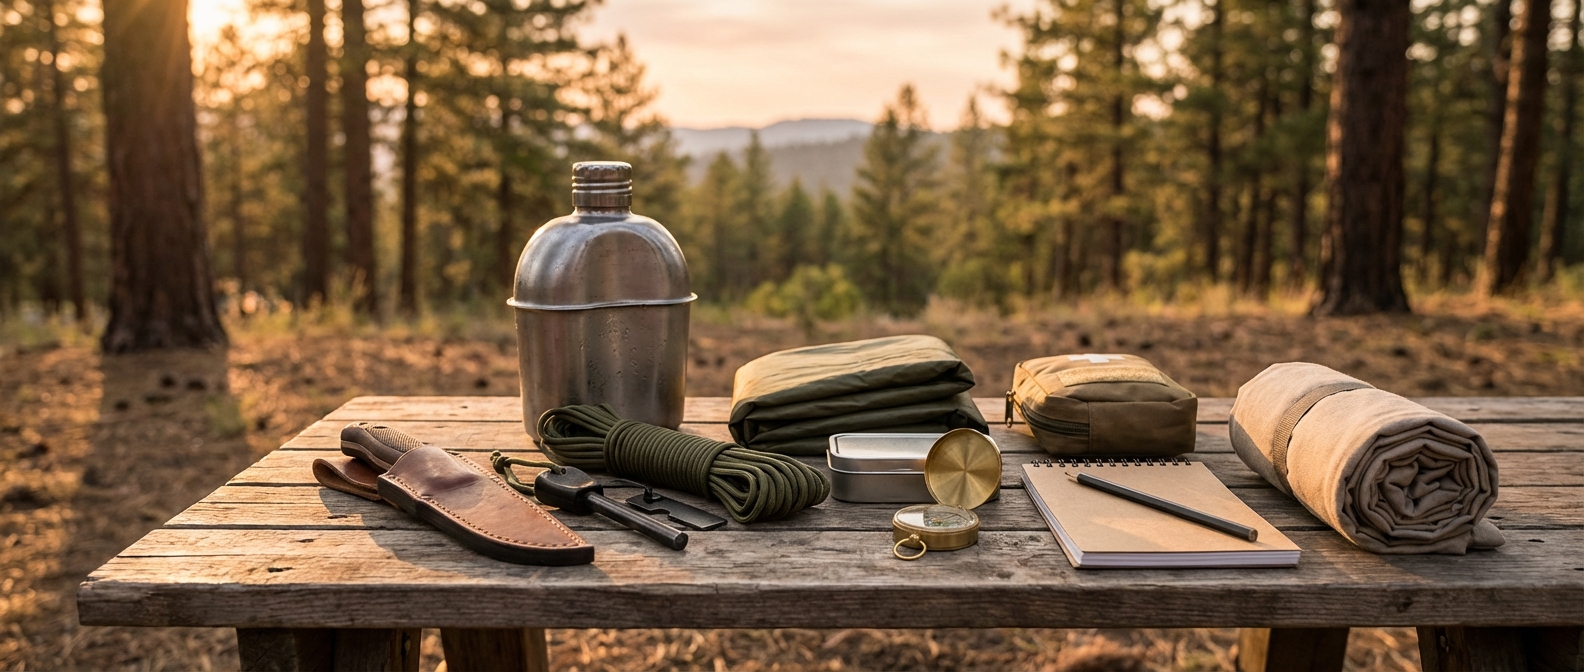
Materials and tools
Essential materials
- Ridgepole: 6-10 ft (1.8-3 m), 2-4 in (5-10 cm) diameter for one person.
- Supports: two trees or two forked upright posts.
- Ribs/rafters: branches 4-8 ft (1.2-2.5 m); space 6-12 in (15-30 cm) apart.
- Debris covering: leaves, pine boughs, grass, bark, ferns. Start with 12-24 in (30-60 cm) and add if needed.
- Bedding/insulation: dry leaves, evergreen boughs, or grass for ground insulation.
- Cordage (optional): 10-30 ft (3-9 m) of paracord or improvised lashings.
Recommended tools (optional)
- Fixed-blade knife, folding saw, small hatchet or camp axe.
- Work gloves and a tarp or emergency blanket for faster waterproofing.
[AFFILIATE_OPPORTUNITY: fixed-blade survival knives] [AFFILIATE_OPPORTUNITY: folding camp saws] [AFFILIATE_OPPORTUNITY: paracord and cordage] [AFFILIATE_OPPORTUNITY: emergency tarps and bivvies]
Safety and environment
- Use dead-and-downed wood when possible. Do not cut live trees.
- Follow Leave No Trace and local laws.
- Avoid unstable overhead limbs and flood-prone spots.
- Keep fires a safe distance from the shelter and from flammable roof materials.
Choosing the right site (checklist)
- High, dry ground away from drainage channels.
- Natural wind protection such as a slope, brush, or rock.
- Close to building materials like deadfall and brush.
- No loose overhead limbs or dead trees.
- Avoid riverbanks, narrow gullies, and obvious runoff paths.
- Point the back of the lean-to into the prevailing wind to block gusts.
Step-by-step: build a DIY lean-to shelter
Follow these steps for a stable, weatherproof lean-to.
-
Prepare the frame
- Option A: Seat a ridgepole between two trees 6-10 ft (1.8-3 m) apart at waist-to-chest height. For sleeping, aim for about 3-4 ft (0.9-1.2 m).
- Option B: Plant two forked sticks firmly in the ground to hold the ridgepole.
- Test the ridgepole for stability before adding ribs.
-
Add the ribs
- Lean long branches against one side of the ridgepole at a downward angle to form the sloped wall.
- Space ribs 6-12 in (15-30 cm) for strength. Aim for a roof angle near 45 degrees; the minimum for shedding water is about 30 degrees.
-
Optional: weave a lattice
- Lay smaller branches horizontally across the ribs to help hold loose debris.
-
Layer the debris covering (roof)
- Shingle from bottom to top so water runs off.
- Start with 12-24 in (30-60 cm) of dry debris and add more for thin materials or heavy rain.
-
Insulate the ground (bedding)
- Build a deep bed of dry leaves, boughs, or grass under the sleeping area.
- Aim for 6-18 in (15-45 cm) depending on compressibility and cold. The thicker the bedding, the less heat you lose to the ground.
-
Close the sides and add a reflector (optional)
- Pack brush at the ends to reduce wind exposure.
- If a fire is safe and allowed, place it several feet away and build a reflector wall of logs or rocks to bounce heat back.
-
Test and adjust
- Crawl in and check for light gaps, drafts, and leaks.
- Add ribs or debris and re-secure the frame until the shelter performs.
Common mistakes and fixes
- Too large: a shelter that is too big takes longer to warm. Build just large enough for your body and a little gear.
- Poor site choice: check elevation, overhead hazards, and material availability before you start.
- Thin roofing: overlap debris and use thicker material for heavy rain.
- Weak frame: choose a strong ridgepole and secure supports; always test stability before sleeping under it.
- Skipping ground insulation: a good roof alone is not enough. Insulate the ground well.
- No practice: build one in fair weather to gain speed and confidence.
Customizing for conditions
- Rain: steepen the roof pitch, add more debris or a tarp, and manage runoff away from the entrance.
- Wind: face the back into the wind, lower the profile, and add end walls.
- Cold: make the shelter smaller and tighter, increase roof and bedding thickness, and use a reflector wall.
- Hot weather: maximize shade and airflow; leave larger openings for ventilation.
- Snow: reinforce ribs, steepen the roof, and clear heavy buildup frequently.
FAQ
Q: How long does a basic DIY lean-to shelter take? A: About 2-4 hours for one person with usable materials. Practice shortens that time.
Q: Can I build one without tools? A: Yes. Deadfall and natural supports will work. Tools speed construction and increase safety.
Q: What is the most common beginner mistake? A: Making the shelter too large and not using enough roofing and bedding material.
Notes on estimates
Time, debris thickness, roof angle, and bedding depth are practical guidelines. Materials, climate, and skill affect what works. Test the shelter and add material until it performs.
Next steps
Practice building a lean-to in safe, fair-weather conditions. Try different sites and materials to learn how the shelter performs. Keep a small tarp and a compact set of survival tools in your kit to speed construction when you need it.
Suggested further reading
- [INTERNAL_LINK: The Art of Starting a Fire (Without Burning Down the Camp)]
- [INTERNAL_LINK: Becoming a Prepper: The Beginner’s Guide to Survival Readiness]
- [INTERNAL_LINK: How to Build a Bug Out Bag: Essentials for a Quick Getaway]
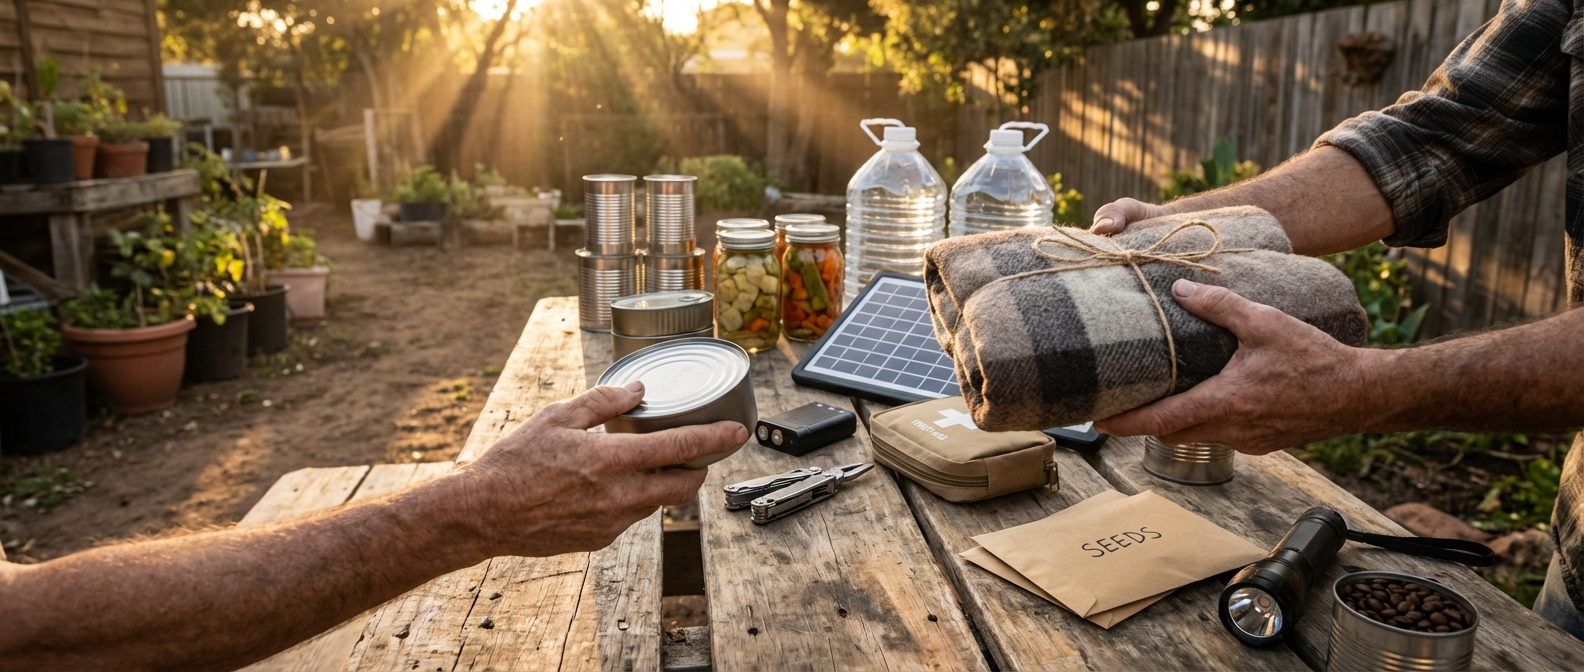
Kit tip
Pack compact survival tools and an emergency tarp to speed shelter-building. [AFFILIATE_OPPORTUNITY: emergency tarps and bivvies]