Basic Shelter Building Techniques: Stay Warm and Dry in the Wild
TL;DR: Build a small, tight lean-to or tarp shelter that blocks wind, sheds water, and insulates the roof and ground. Pick a good site. Use a steep roof angle, close-spaced rafters, and thick ground bedding. Cordage and a tarp speed construction and improve waterproofing.
Summary
- Goal of basic shelter building techniques: create a small insulated microclimate that keeps you dry and reduces heat loss.
- Fast, reliable beginner shelter: a well-insulated lean-to with a sturdy ridgepole, close rafters, and a thick debris roof and bedding.
- Key priorities: site selection, wind blocking, roof coverage, and ground insulation.
Notes on temperature and urgency
Hypothermia risk depends on wetness, wind, clothing, and individual factors. The 50°F / 10°C figure is a rough warning and varies by situation. If you state specific temperature thresholds, reference a wilderness-medicine or medical source. The Rule of Threes is a memory aid, not a strict timeline. Apply context when you decide how urgently to act.
Definitions
- Shelter: any improvised or constructed structure that protects from rain, wind, and ground moisture while helping retain body heat.
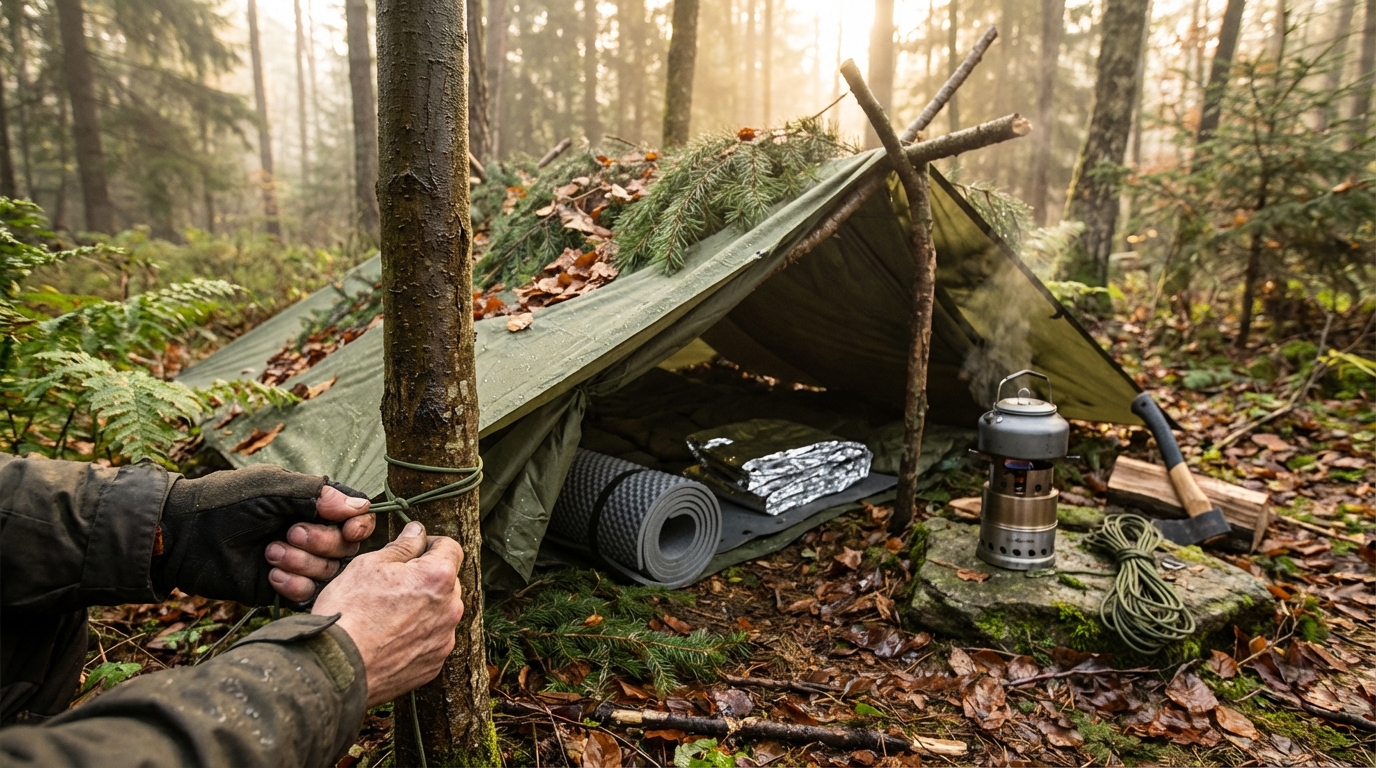
- Lean-to: a single sloping roof supported by a ridgepole and rafters, open on one side for an entrance.
- Ridgepole: the main horizontal support at the top of a shelter.
- Rafters: angled poles or branches that form the roof surface.
- Reflector wall: rocks, logs, or packed debris placed behind a small fire to bounce heat into the shelter.
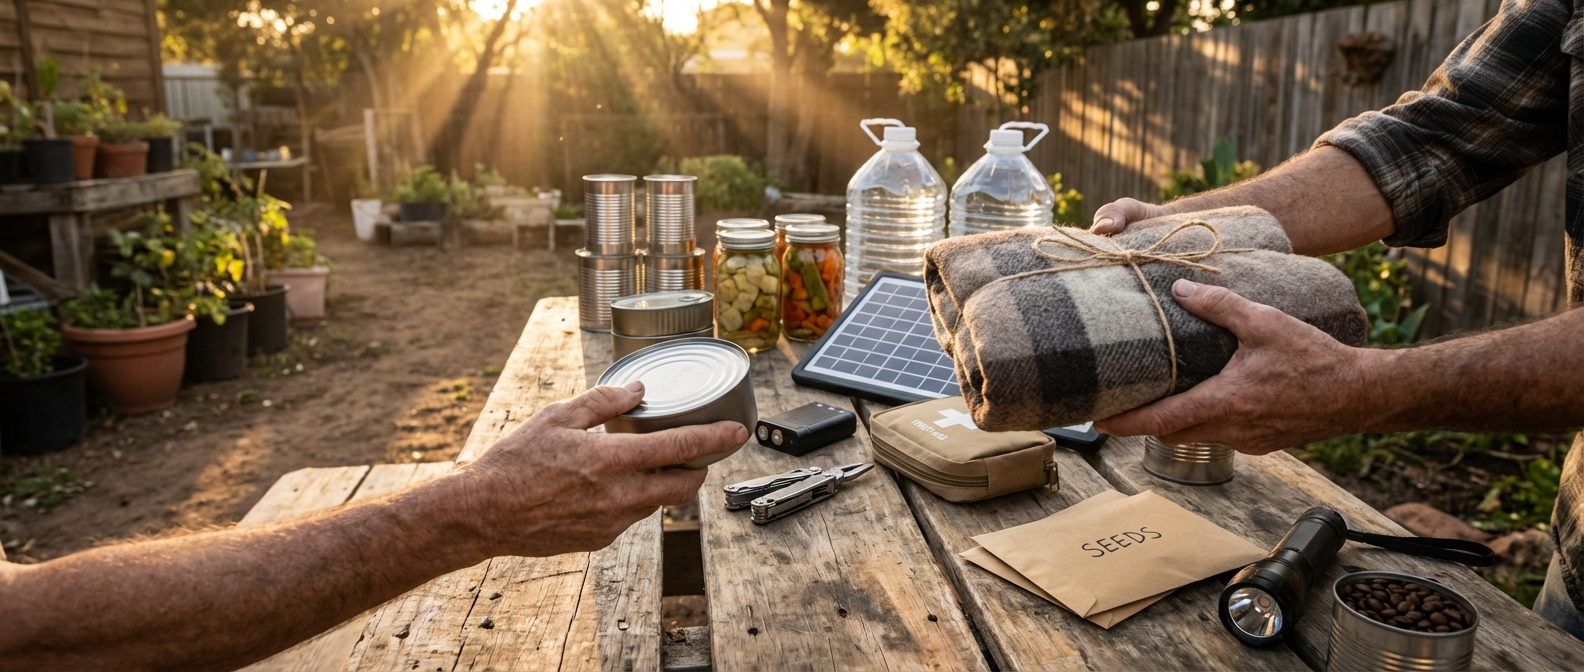
Essential materials for basic shelter building techniques
Natural materials (collect dry when possible):
- Long sturdy poles for a ridgepole and main frame.
- Thicker poles for rafters; smaller sticks and brush to fill gaps.
- Leaves, pine needles, grass, ferns, or bark for roof and wall insulation.
- Pine boughs or dry debris for bedding.
- Rocks or logs to anchor edges or build a wind wall.
- Vines or flexible roots for lashings if you lack cordage.
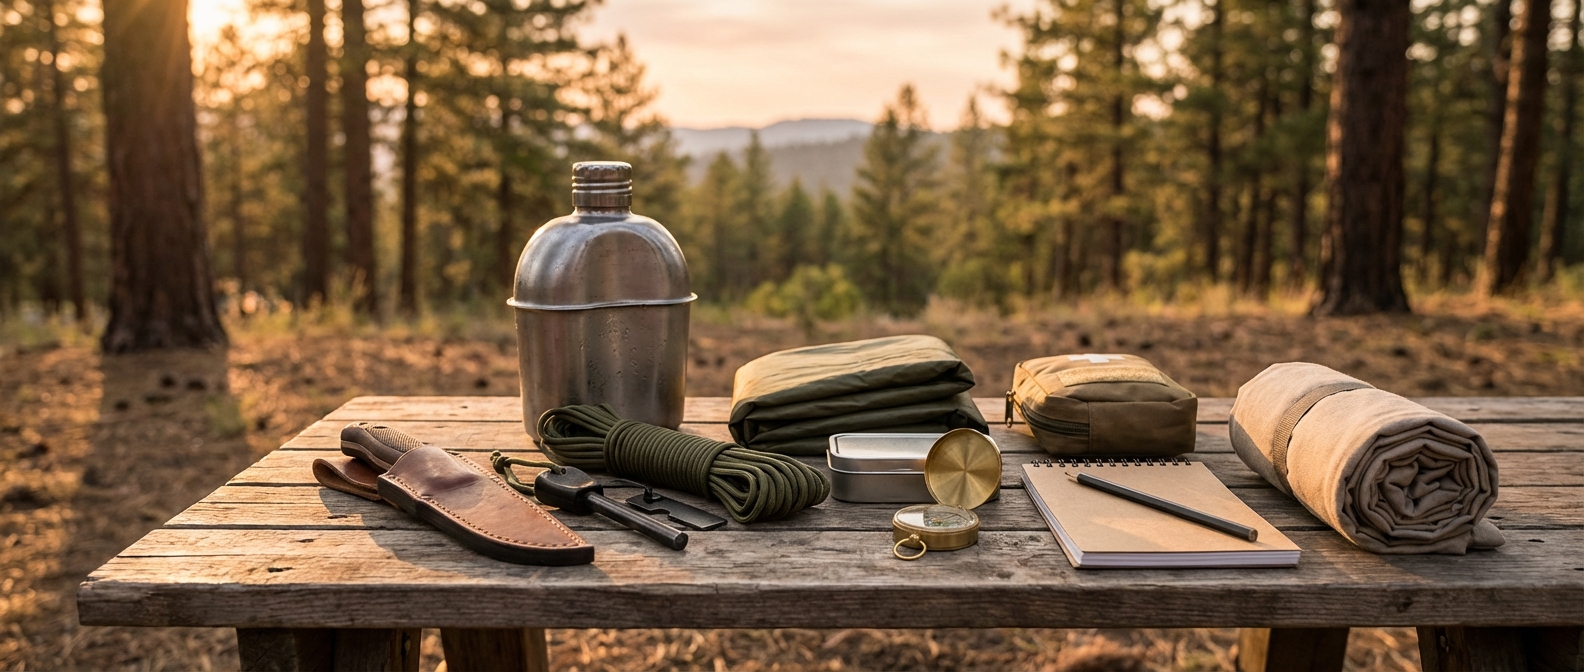
Helpful modern gear:
- Fixed-blade or strong folding knife; small saw or hatchet speeds the job.
- Paracord or strong cordage.
- Tarp or emergency bivvy (Mylar) for fast waterproofing.
- Closed-cell foam sleeping pad for ground insulation.
- Small shovel or trowel (optional) to clear or shape the site.
Step-by-step lean-to (core technique)
-
Choose the location
- Take higher ground for drainage. Avoid low spots, riverbanks, and natural flood channels.
- Face the entrance away from the prevailing wind. Use terrain or vegetation as natural wind breaks.
- Scan for overhead dead limbs and loose rocks.
-
Set the ridgepole
- Prop a long pole between two trees, or rest one end on a stump or rock and anchor the other lower to the ground.
- Keep the shelter low in cold weather to reduce interior volume and hold heat.
-
Add rafters
- Lean evenly spaced, sturdy branches against the ridgepole on the sheltered side.
- Place rafters close together. Start with thicker poles for strength.
-
Weave cross-branches to form a lattice
- Add horizontal branches across rafters to hold insulating material in place.
-
Apply debris roofing
- Layer materials from bottom to top, overlapping like shingles. Use leaves, grass, pine needles, or boughs.
- Several inches to a foot of thickness is typical; add more in cold or wet conditions.
-
Insulate the ground
- Build thick bedding from dry leaves, boughs, or a foam pad.
- Several inches is the minimum. In freezing conditions add much more to stop conductive heat loss.
-
Add a reflector or fire wall when safe
- Place rocks or logs opposite the opening to reflect heat inward. Only build a fire if it is safe and permitted.
Small shelters warm faster. Finish before dark.
Waterproofing, windproofing, and insulation principles
- Roof shape and coverage: use a steep slope so rain runs off. Layer materials like shingles.
- Tarp use: tension a tarp to avoid pooling, then add debris over it for insulation and camouflage.
- Wind blocking: orient the entrance away from wind and pack brush or logs on the windward side.
- Insulate roof, walls, and ground: roof insulation reduces convective loss. Bedding prevents conductive loss to the ground.
- Drainage: site the entrance away from runoff and elevate bedding. Build small berms or drains if water is a threat.
Practical tips for modern gear integration
- Use paracord for secure lashings and guy lines.
- Drape a tarp over the frame for immediate shelter, then layer debris for insulation.
- A closed-cell foam pad under your sleeping bag greatly reduces conductive heat loss.
Common mistakes and how to avoid them
- Choosing a poor site: avoid low, flood-prone, and unstable areas.
- Making it too large: smaller shelters are easier to heat.
- Thin roof coverage: if light passes through, add more overlap.
- Skipping ground insulation: never sleep directly on cold ground.
- Overcomplicating the build: pick a design you can complete before dark.
- Waiting too long: start while you have daylight and energy.
- Ignoring local hazards: consider snow load, flash flooding, coastal winds, insects, and falling rock.
Quick checklist
- Site chosen: elevated, wind-sheltered, away from hazards.
- Ridgepole secured.
- Rafters placed and closely spaced.
- Cross-branches or lattice installed.
- Roof debris layered so no light comes through.
- Ground bedding installed: several inches minimum.
- Wind wall or reflector added if appropriate.
- Fire safety and local regulations checked.
FAQ
Q: What are the minimum materials needed? A: Sturdy branches for a frame, smaller sticks for support, and lots of dry debris for insulation. A knife, cordage, tarp, and foam pad speed the job.
Q: How do I ensure waterproofing and windproofing? A: Pick a sheltered site, face the entrance away from wind, build a steep overlapping roof, pack the windward side, and insulate the ground. Use a tarp for faster waterproofing.
Q: Which shelter is easiest for beginners? A: The lean-to. It goes up quickly and works well when insulated and sited properly.
Q: How thick should insulation be? A: Thick enough that light does not pass through roof or wall layers. Ground bedding should be several inches at minimum, and much thicker in freezing conditions.
Practice
Practice lean-tos in safe, dry conditions before you need one. Build with and without a tarp to learn material needs. Combine shelter drills with firecraft and water-treatment practice. Keep a small kit of knife, cordage, tarp, and sleeping pad to speed construction.
Key takeaways
- Pick the right location first.
- Build smaller than you think you need.
- Use more insulation than feels necessary.
- Prioritize ground bedding as much as roof cover.
- Block wind and shed water with layered materials.
Safety
Check local laws and fire regulations before building fires or large structures. Inspect for overhead hazards and unstable ground. When stating medical or temperature guidance, cite reputable wilderness-medicine sources.